How to Start a Django Project with Vim, Docker Compose, MySQL, and Bootstrap
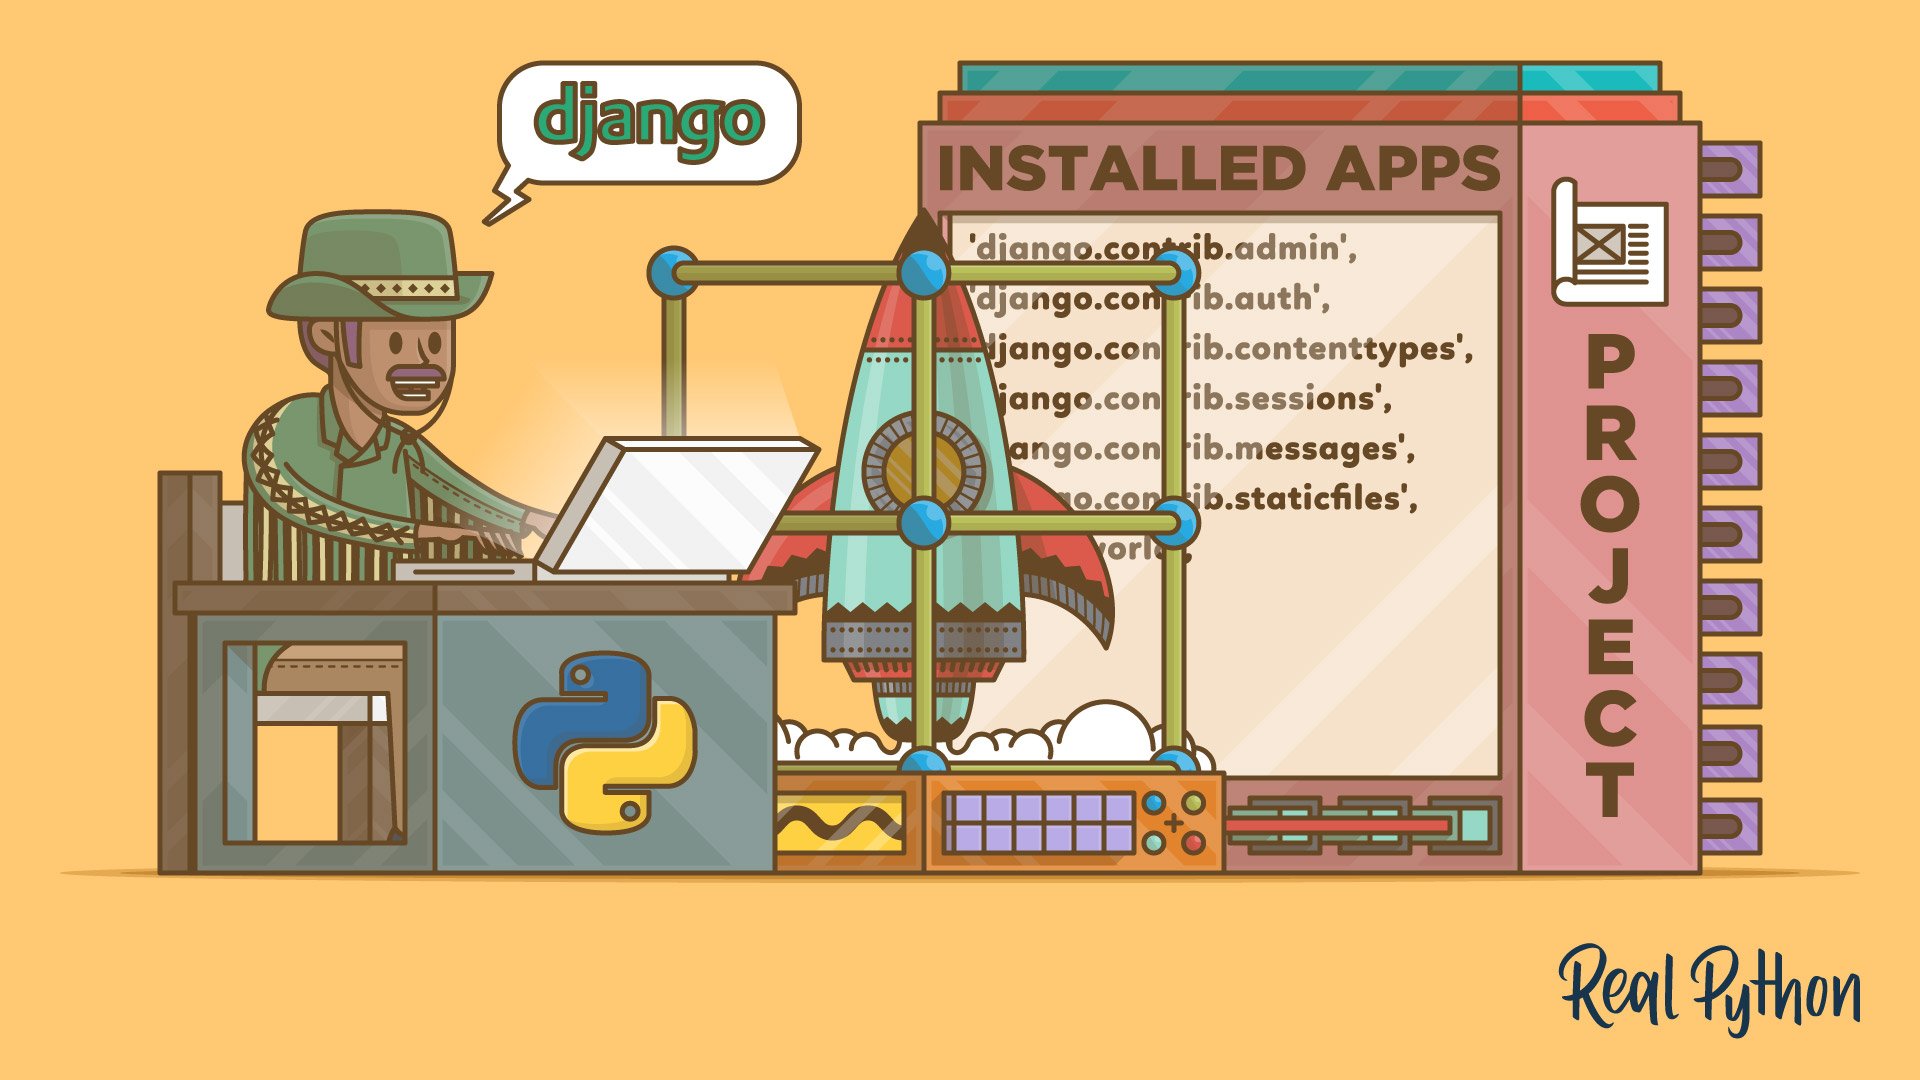
Starting a Django project with a modern workflow can streamline your development process and make your application more maintainable. This guide will walk you through setting up a Django project using Vim, Docker Compose, MySQL, and Bootstrap, especially tailored for beginners.
Why Use Vim and Docker Compose?
Why Vim?
Vim is a highly efficient text editor that is lightweight, fast, and comes pre-installed on most Unix-based systems. It may seem intimidating at first, but once you learn its commands, Vim allows for lightning-fast editing and navigation. For developers, using Vim means less reliance on mouse clicks, and its extensive plugin ecosystem can transform it into a powerful Integrated Development Environment (IDE) for Python and Django development.
Why Docker and Docker Compose?
Docker simplifies the process of setting up and managing consistent development environments. With Docker, you can run your application in isolated containers, ensuring compatibility across different systems.
Docker Compose takes this a step further by allowing you to define and manage multi-container applications. For example, a typical Django project might need a database like MySQL running alongside it. Instead of installing MySQL directly on your machine, Docker Compose lets you spin up a containerized MySQL database and link it to your Django app seamlessly. This makes setup and collaboration much easier.
Step 1: Setting Up Your Development Environment
1.Install Dependencies
Ensure you have the following installed on your system:
- Docker and Docker Compose
- Python (3.8+)
- Vim
- Git
2.Create a Project Directory
   mkdir django-docker-vim
   cd django-docker-vim
Step 2: Initialize Docker Compose
1.Create a docker-compose.yml file
   version: '3.8'

   services:
     db:
       image: mysql:8.0
       environment:
         MYSQL_ROOT_PASSWORD: root
         MYSQL_DATABASE: mydb
         MYSQL_USER: user
         MYSQL_PASSWORD: password
       ports:
         - "3306:3306"

     web:
       build: .
       command: python manage.py runserver 0.0.0.0:8000
       volumes:
         - .:/app
       ports:
         - "8000:8000"
       depends_on:
         - db
This file defines two services: a db service for MySQL and a web service for Django. Each runs in its own container, making it easy to manage dependencies and configurations.
2.Create a Dockerfile
   FROM python:3.9-slim

   WORKDIR /app

   COPY requirements.txt requirements.txt

   RUN pip install --no-cache-dir -r requirements.txt

   COPY . .
This Dockerfile sets up a Python environment for your Django project.
3.Create a requirements.txt file
   django
   mysqlclient
This file lists the dependencies needed for your project. Docker will use it to install them in the container.
Step 3: Start a Django Project
1.Start Docker Compose
docker-compose up -dThis command spins up the containers defined in docker-compose.yml. The -d flag runs the containers in detached mode.
2.Enter the Web Container
docker exec -it <container_id> bashReplace <container_id> with the actual ID of the web container, which you can find using docker ps.
3.Start a New Django Project
django-admin startproject myproject .4.Configure Django for MySQL
Edit myproject/settings.py:
   DATABASES = {
       'default': {
           'ENGINE': 'django.db.backends.mysql',
           'NAME': 'mydb',
           'USER': 'user',
           'PASSWORD': 'password',
           'HOST': 'db',
           'PORT': '3306',
       }
   }
These settings connect Django to the MySQL database running in the db container.
Step 4: Set Up Bootstrap for Frontend Styling
1.Install Bootstrap
Add the Bootstrap CSS and JS links to your base.html file:
   <!DOCTYPE html>
   <html lang="en">
   <head>
       <meta charset="UTF-8">
       <meta name="viewport" content="width=device-width, initial-scale=1.0">
       <link href="https://cdn.jsdelivr.net/npm/bootstrap@5.3.0-alpha3/dist/css/bootstrap.min.css" rel="stylesheet">
   </head>
   <body>
       <div class="container">
           {% block content %}{% endblock %}
       </div>
       <script src="https://cdn.jsdelivr.net/npm/bootstrap@5.3.0-alpha3/dist/js/bootstrap.bundle.min.js"></script>
   </body>
</html>2.Create a View
Create a simple view in myproject/views.py:
   from django.shortcuts import render

   def home(request):
return render(request, 'home.html')3.Set Up URLs
Add the view to myproject/urls.py:
   from django.contrib import admin
   from django.urls import path
   from . import views

   urlpatterns = [
       path('admin/', admin.site.urls),
       path('', views.home, name='home'),
]4.Create a Template
Create a templates/home.html file:
   {% extends 'base.html' %}

   {% block content %}
   <h1 class="text-center">Welcome to Django with Bootstrap!</h1>
   {% endblock %}
Step 5: Optimize Vim for Django Development
1.Install Vim Plugins
Use a Vim plugin manager like vim-plug to install helpful plugins:
   call plug#begin('~/.vim/plugged')
   Plug 'davidhalter/jedi-vim'  " Python autocompletion
   Plug 'tpope/vim-surround'    " Text objects
   Plug 'vim-airline/vim-airline' " Status bar
   Plug 'nvie/vim-flake8'       " Python linting
call plug#end()2.Configure Vim for Django
Add the following to your .vimrc:
   set tabstop=4
   set shiftwidth=4
   set expandtab
   set number
   filetype plugin indent on
Step 6: Test the Setup
1.Migrate the Database
python manage.py migrate2.Run the Server
python manage.py runserver 0.0.0.0:80003.Access the Application
Open your browser and navigate to http://localhost:8000.
Conclusion
By combining Docker Compose, MySQL, Bootstrap, and Vim, you’ve created a robust and efficient development environment for Django. This setup ensures your project is easy to maintain, scalable, and visually appealing from the start. Using Vim and Docker Compose may have a learning curve, but they are valuable tools for becoming a more efficient developer. As you practice, these tools will make your development workflow faster and more enjoyable.
Get in Touch with us
Related Posts
- How to Implement Google Single Sign-On (SSO) in FastAPI
- Build Your Own Taxi Booking App with Simplico: Scalable, Secure & Ready to Launch
- Building a Scalable EV Charging Backend — For Operators, Developers, and Innovators
- How to Handle Complex Pricing for Made-to-Order Products in Odoo
- How to Build a Made-to-Order Product System That Boosts Sales & Customer Satisfaction
- Transform Your Operations with Autonomous Agentic AI
- Streamline Fiber Tester Management with a Lightweight EXFO Admin Panel
- Enhancing Naval Mission Readiness with EMI Simulation: Cost-Effective Risk Reduction Using MEEP and Python
- Strengthen Your Cybersecurity Posture with Wazuh: A Scalable, Cost-Effective SIEM Solution
- OCPP Central System + Mobile App — Customer Proposal
- How TAK Systems Are Transforming Border Security
- ChatGPT-4o vs GPT-4.1 vs GPT-4.5: Which Model Is Best for You?
- Can Clients Decrypt Server Data Without the Private Key? (Spoiler: No—and Here’s Why)
- Managing JWT Authentication Across Multiple Frameworks
- Building a Lightweight EXFO Tester Admin Panel with FastAPI and Alpine.js
- Monitoring Cisco Network Devices with Wazuh: A Complete Guide
- Using FastAPI to Bridge Mobile Apps with OCPP EV Charging Systems
- Simulating EMC/EMI Coupling on a Naval Top Deck Using MEEP and Python
- How the TAK System Works: A Complete Guide for Real-Time Situational Awareness
- Building an E-commerce Website & Mobile App with Smart AI Integration — The Modern Way


