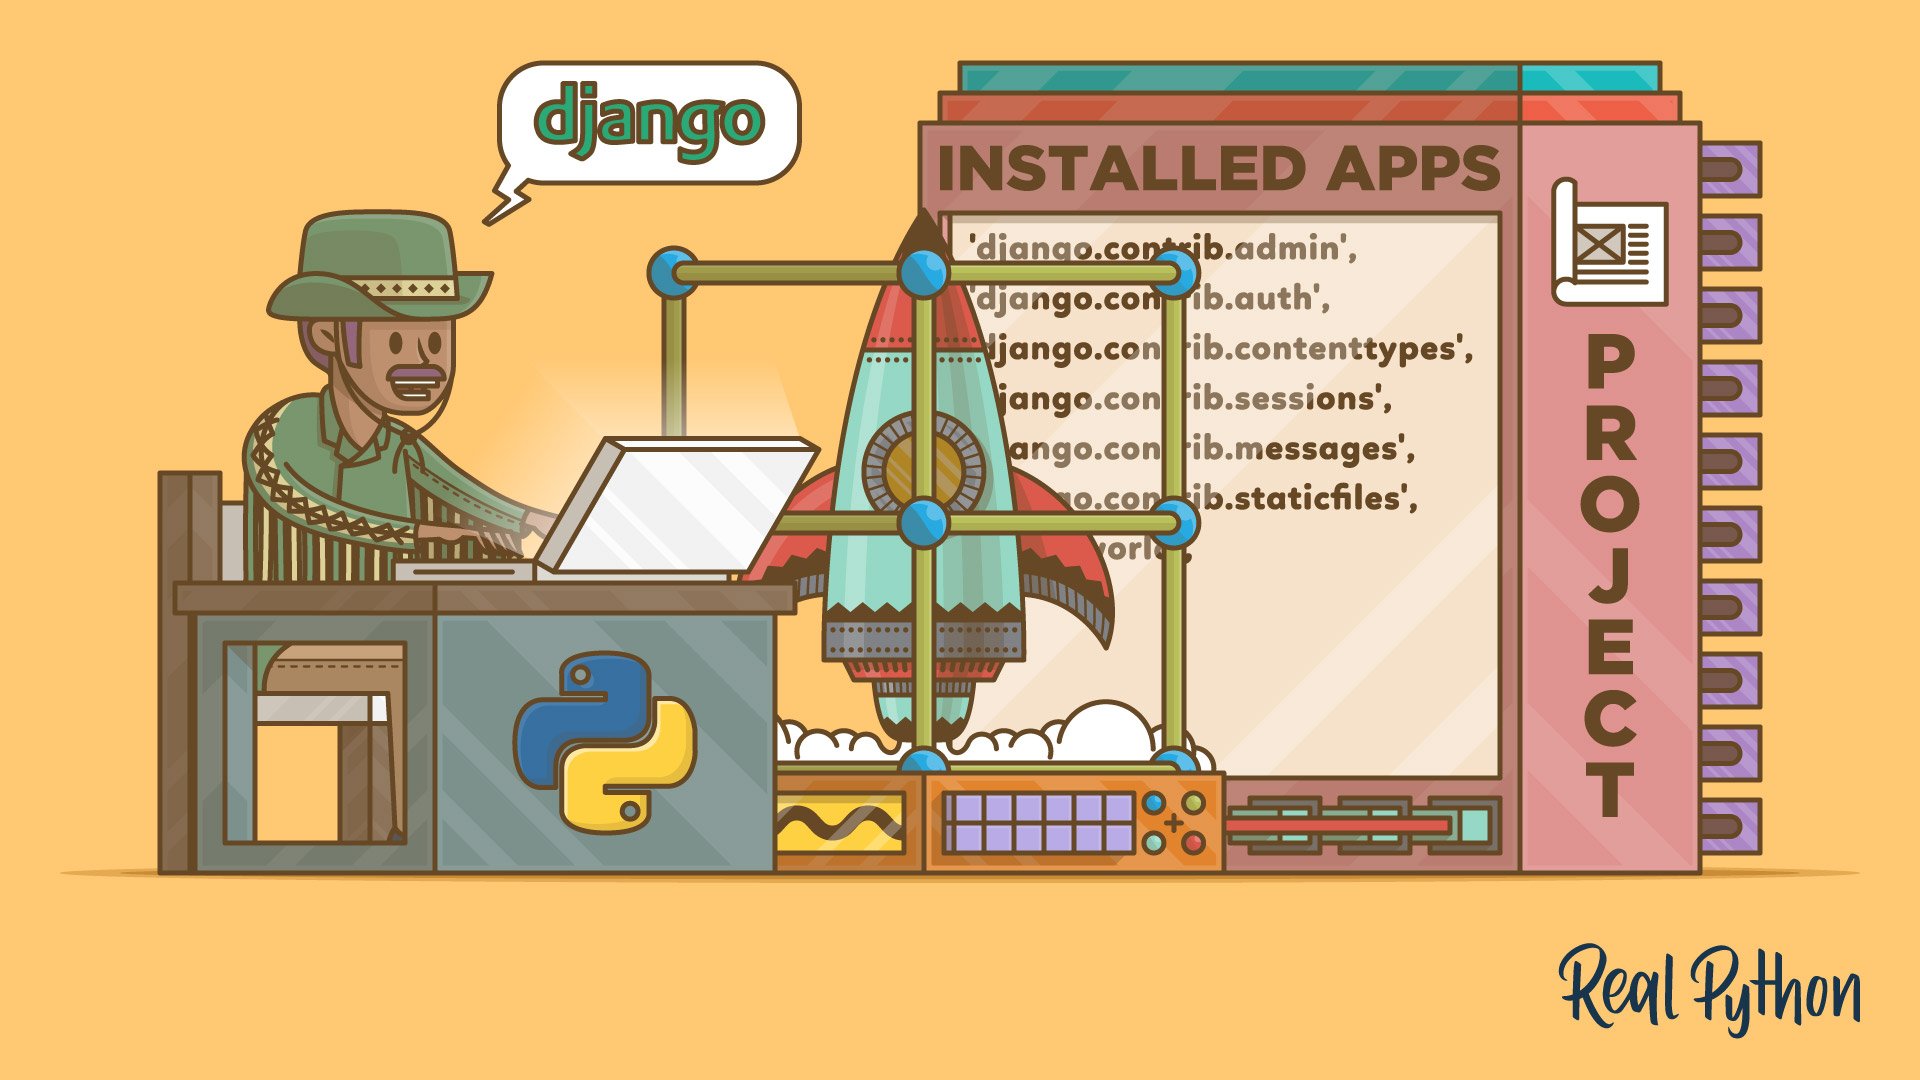
Continuous Delivery for Django on DigitalOcean with GitHub Actions & Docker
TL;DR: In this guide, you’ll learn how to build a production-grade Continuous Delivery (CD) pipeline for your Django app using GitHub Actions, Docker, and a DigitalOcean Ubuntu VM. We’ll automate everything from testing to deployment—so your app updates with every push to main.
💡 What is Continuous Delivery?
Continuous Delivery is a software practice where code is always in a deployable state. It allows teams to:
- ✅ Ship faster
- 🔄 Automate deployments
- 🔐 Reduce human error
- 🚀 Release confidently
We’ll implement a pipeline that looks like this:
🔄 CD Pipeline Workflow
graph TD
  A[Push code to GitHub] --> B[GitHub Actions CI/CD triggered]
  B --> C[Checkout code]
  C --> D[SSH to DigitalOcean VM]
  D --> E[Pull latest code from Git]
  E --> F[Rebuild Docker containers]
  F --> G[Restart Django app via Docker Compose]
  G --> H[Live site is updated automatically]
🔍 Step-by-Step Summary
| Step | Description |
|---|---|
| A | Developer pushes code to main |
| B | GitHub Actions starts the CI/CD workflow |
| C | Code is checked out in the GitHub runner |
| D | GitHub connects to your DigitalOcean VM via SSH |
| E | Latest code is pulled into your server |
| F | Docker containers are rebuilt |
| G | Docker Compose restarts the app |
| H | Nginx serves the latest version to users |
🛠️ Tools We’ll Use
| Role | Tool |
|---|---|
| CI/CD | GitHub Actions |
| Deployment | DigitalOcean (Ubuntu VM) |
| Containerization | Docker + Docker Compose |
| Web Server | Nginx |
| Secure Access | SSH with GitHub Secrets |
📦 Step 1: Dockerize Your Django App
Dockerfile
FROM python:3.11-slim

ENV PYTHONDONTWRITEBYTECODE 1
ENV PYTHONUNBUFFERED 1

WORKDIR /app
COPY requirements.txt .
RUN pip install --no-cache-dir -r requirements.txt

COPY . .
CMD ["gunicorn", "myproject.wsgi:application", "--bind", "0.0.0.0:8000"]
🐳 Step 2: Docker Compose for Production
docker-compose.prod.yml
version: '3.9'
services:
  web:
    build: .
    env_file: .env
    volumes:
      - .:/app
    expose:
      - 8000

  nginx:
    image: nginx:alpine
    ports:
      - "80:80"
    volumes:
      - ./nginx.conf:/etc/nginx/conf.d/default.conf
    depends_on:
      - web
🌐 Step 3: Nginx Configuration
nginx.conf
server {
    listen 80;
    server_name yourdomain.com;

    location / {
        proxy_pass http://web:8000;
        proxy_set_header Host $host;
        proxy_set_header X-Real-IP $remote_addr;
    }
}
🔐 Step 4: SSH Setup for GitHub
- On your local machine:
ssh-keygen -t ed25519 -C "your_email@example.com"- Copy the public key to your server’s
~/.ssh/authorized_keys - Add the private key to your GitHub repo secrets:
→DO_SSH_PRIVATE_KEY
🤖 Step 5: GitHub Actions Workflow
.github/workflows/deploy.yml
name: Django CD to DigitalOcean

on:
  push:
    branches: [main]

jobs:
  deploy:
    runs-on: ubuntu-latest

    steps:
    - name: Checkout code
      uses: actions/checkout@v3

    - name: Setup SSH
      run: |
        mkdir -p ~/.ssh
        echo "${{ secrets.DO_SSH_PRIVATE_KEY }}" > ~/.ssh/id_ed25519
        chmod 600 ~/.ssh/id_ed25519
        ssh-keyscan your.server.ip >> ~/.ssh/known_hosts

    - name: Deploy via SSH
      run: |
        ssh -i ~/.ssh/id_ed25519 deploy@your.server.ip << 'EOF'
          cd /home/deploy/myproject/
          git pull origin main
          docker compose -f docker-compose.prod.yml down
          docker compose -f docker-compose.prod.yml up -d --build
        EOF
Replace:
your.server.ipwith your actual VM IPdeploywith your username
🔧 Step 6: Production .env Example
DJANGO_SECRET_KEY=supersecret
DEBUG=False
ALLOWED_HOSTS=yourdomain.com
📁 Folder Structure on the Server
/home/deploy/myproject/
├── manage.py
├── myproject/
├── Dockerfile
├── docker-compose.prod.yml
├── .env
├── nginx.conf
✅ Final Result
Every time you push to main, your app is:
- Pulled to your server
- Rebuilt with Docker
- Restarted with zero manual steps
🌟 Bonus Ideas
- Add Sentry for error monitoring
- Auto-restart using systemd
- Setup Let’s Encrypt for HTTPS
🧠 Conclusion
You’ve now built a real Continuous Delivery pipeline for Django on a live Ubuntu VM. It’s reliable, repeatable, and scales with your app.
Get in Touch with us

Chat with Us on LINE
iiitum1984
Related Posts
- simpliShop:专为泰国市场打造的按需定制多语言电商平台
- simpliShop: The Thai E-Commerce Platform for Made-to-Order and Multi-Language Stores
- ERP项目为何失败(以及如何让你的项目成功)
- Why ERP Projects Fail (And How to Make Yours Succeed)
- Payment API幂等性设计:用Stripe、支付宝、微信支付和2C2P防止重复扣款
- Idempotency in Payment APIs: Prevent Double Charges with Stripe, Omise, and 2C2P
- Agentic AI in SOC Workflows: Beyond Playbooks, Into Autonomous Defense (2026 Guide)
- 从零构建SOC:Wazuh + IRIS-web 真实项目实战报告
- Building a SOC from Scratch: A Real-World Wazuh + IRIS-web Field Report
- 中国品牌出海东南亚:支付、物流与ERP全链路集成技术方案
- 再生资源工厂管理系统:中国回收企业如何在不知不觉中蒙受损失
- 如何将电商平台与ERP系统打通:实战指南(2026年版)
- AI 编程助手到底在用哪些工具?(Claude Code、Codex CLI、Aider 深度解析)
- 使用 Wazuh + 开源工具构建轻量级 SOC:实战指南(2026年版)
- 能源管理软件的ROI:企业电费真的能降低15–40%吗?
- The ROI of Smart Energy: How Software Is Cutting Costs for Forward-Thinking Businesses
- How to Build a Lightweight SOC Using Wazuh + Open Source
- How to Connect Your Ecommerce Store to Your ERP: A Practical Guide (2026)
- What Tools Do AI Coding Assistants Actually Use? (Claude Code, Codex CLI, Aider)
- How to Improve Fuel Economy: The Physics of High Load, Low RPM Driving